

There could be many reasons why you want to find out the uptime of Windows systems. This could be Windows 10 or Windows 11 or even Windows server 2016 / 2019 / 2022 or any other windows operating system version. This is a useful property when you want to find out how long the system has been up and not rebooted. There are different places which we will check to see this information. The steps in this blog post will be shown on Windows 11 machine but it will work on all other windows operating systems as well.
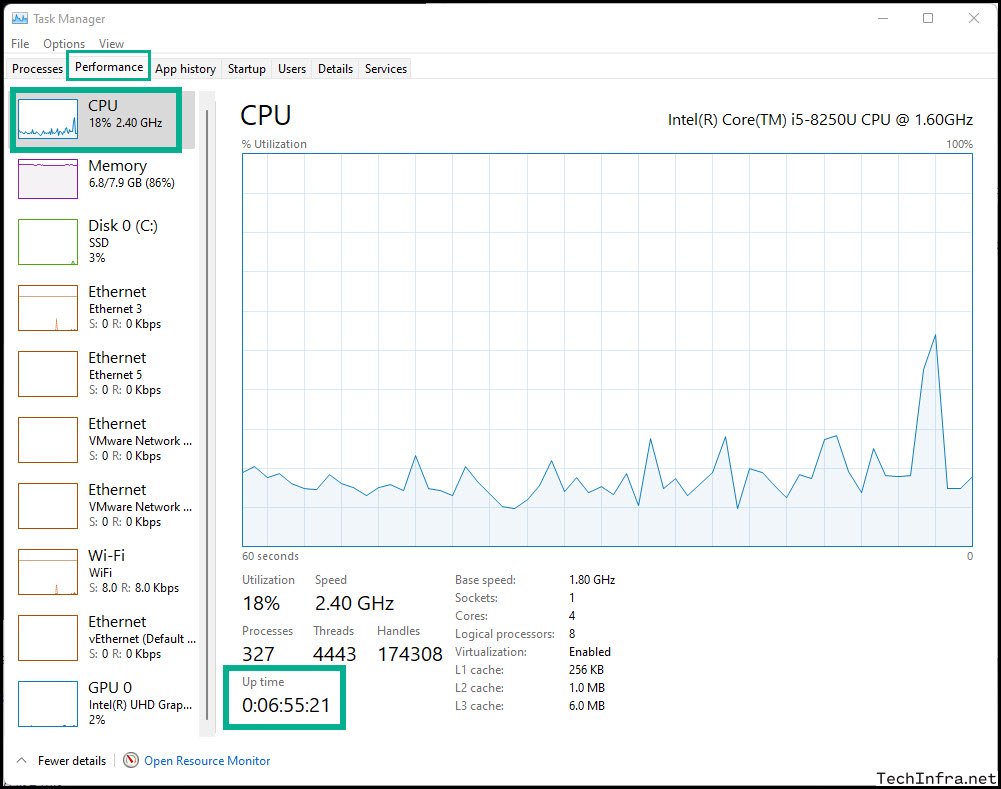
First and easiest way to find out the Uptime on Windows system is to open Task Manager and click on Performance Tab and then Click on CPU on the left hand side. You will find the uptime shown on the bottom of the page.
Find uptime using Task Manager
- Click on Start and Type task manager.

Click on Performance tab and the click on CPU. You will find Up time value shown on the bottom of the page as highlighted in the screenshot. My system’s up time value is 6 hours 55 minutes and 21 seconds.
Find uptime using Command Prompt.
Command Prompt is installed by default with windows. Its a very useful tool to find information quickly and easily if you know the right commands. We will use this command shell also referred to as cmd and run commands to find system uptime value.
- Click on Start.
- Type cmd to find Command Prompt.
- You can any of the below commands to get the System Uptime Information:
systeminfo | find "System Boot Time"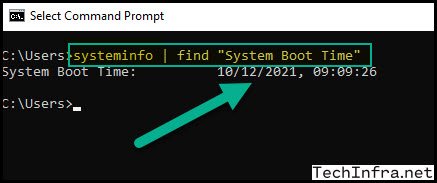
wmic os get lastbootuptimeBelow command will only work on Windows workstations / client operating systems like Windows 10 or Windows 11. For Windows Server operating systems you can use a command net statistics server.
net statistics workstation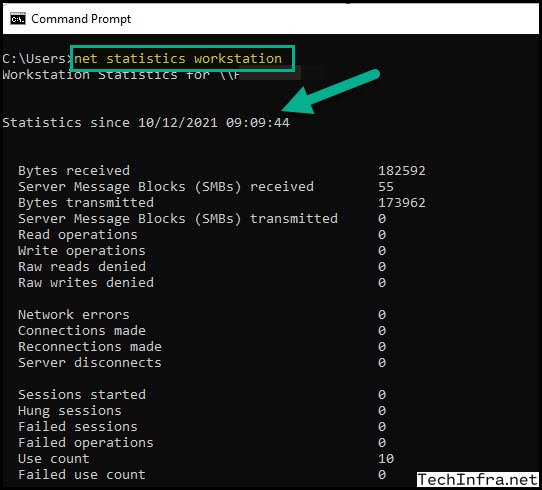
Find uptime using Powershell.
Below commands will work from Powershell console not from command prompt. To open Powershell console. Go to Start -> Type Powershell and launch Windows Powershell console then copy / paste below command and then press Enter.
(get-date) - (gcim Win32_OperatingSystem).LastBootUpTimeGet-CimInstance -Class Win32_OperatingSystem | Select-Object LastBootUpTimeUsing Powershell 6.0 onwards
When you are using Powershell 6.0 version onwards, you can also use a Powershell cmdlet get-uptime to find the uptime of the system. If you are not having latest version of powershell installed, you can download and Install it using below link:
Installing Powershell on Windows
get-uptime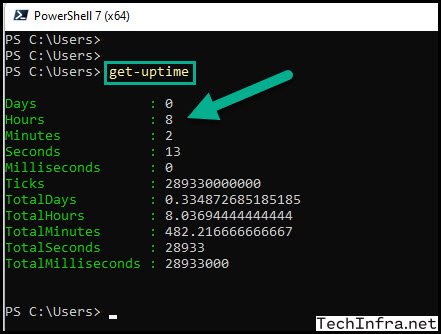
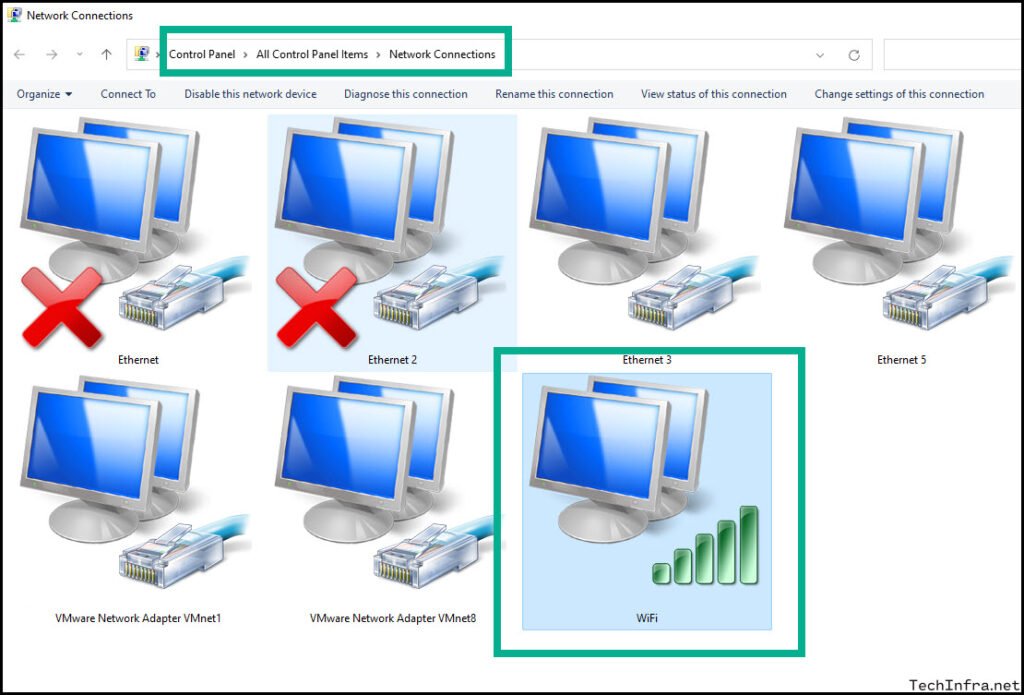
Find uptime using Network Connections
Physical network adaptors are installed in your laptop or workstation. When you restart your system, it records the time and starts its timer. This way you will be able to find the uptime of the system. Let’s see how you can find it:
- Click on Start and Type ncpa.cpl.

- Click on ncpa.cpl to launch Network connections Window.
- Find the Network Adaptor which is connected to your system and double-click on it to open.
I am working on a laptop connected to Internet via Wireless Adaptor so I have selected my WiFi Adaptor and opened it.
Once you open the adaptor properties window by double-clicking on it. You will be able to find the uptime in the Duration Value which in my case shows 7 hours, 40 minutes and 38 seconds. That means my system has been up from last 7 hours, 40 minutes and 38 seconds. This information is useful specially when working on servers, when patching the servers or workstations or when troubleshooting any issues related to any Windows Component.
Example is if the system has been up for months as checked in this Duration value, then you will definitely want to go ahead and reboot the system. Microsoft Patches and updates also requires reboot and you should reboot the windows systems as and when required to keep it operational and avoid any issues.

